How to Transfer Crypto Between Two Wallets — A Friendly, Safe, and Simple Guide
Introduction
.Transfer Crypto Between Two Wallets can feel scary at first. But it doesn’t have to be. If you take a few sensible steps, test a tiny amount first, and keep your information private, you’ll do fine. This article is written to hold your hand through the whole process — in a calm, plain way, with easy examples and no heavy jargon.
Transfer Crypto Between Two Wallets
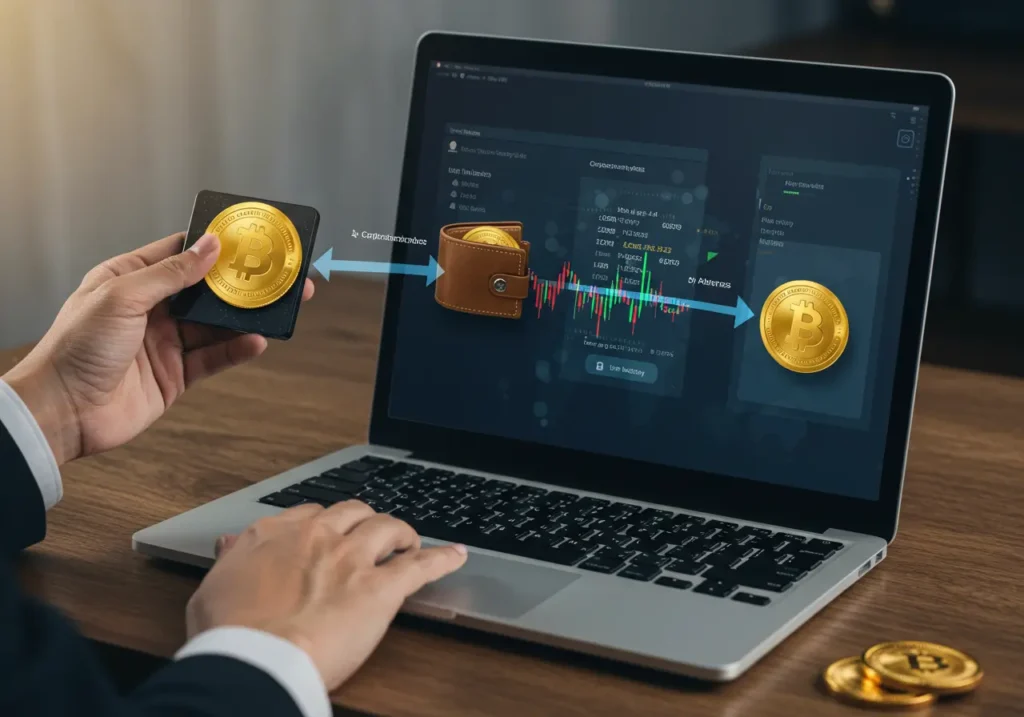
Moving coins or tokens from one wallet to another is an everyday task in the crypto world. Whether you are consolidating funds, moving to a more secure cold wallet, or sending assets to an exchange, the same care and basic steps apply. Below I’ll walk you through why it matters, what to check before you transfer, exactly how to move funds, and how to avoid common mistakes.
Why this matters (and why you should care)
When money is digital, small mistakes can be final. There is no “undo” button. That is the honest truth. A wrong address, a missed network fee, or sending a token to the wrong chain can mean permanent loss. But knowing the Step-by-step crypto transfer process and following simple safety habits drastically reduces risk. Think of it like crossing a busy street: look both ways, use the crosswalk, and hold a child’s hand if needed. Same idea.
Basics: wallets, addresses, and networks (keep it simple)
- Wallet: an app or device that holds the keys to your crypto. It can be a phone app (hot wallet) or a hardware device (cold wallet).
- Address: a long string of letters and numbers. It’s like a bank account number for crypto.
- Network / blockchain: the system your token belongs to. Common examples are Ethereum and Bitcoin. Tokens usually must travel on their native network.
Imagine mailing a letter. The address must match where the post office delivers. If you try to send a letter for one country into another postal system without the right routing, the letter is lost. Crypto works the same way.
Prepare before you send: checklist for a secure transfer

Before you tap “send,” stop. Use this checklist every single time.
- Confirm wallet types. Know whether both wallets support the token you plan to send. Not every wallet supports every token or every network.
- Check the network. If you are sending an ERC-20 token, use the Ethereum network. If you send across the wrong network, funds may vanish.
- Copy the address carefully. Use the copy/paste button. Don’t type the address by hand.
- Verify the address visually. Compare the first few and last few characters. Many wallets show these as a quick check.
- Check fees and timing. Some networks have high fees at busy times. Decide whether to wait or proceed.
- Do a small test transfer. Send a tiny amount first to confirm everything arrives.
- Double-check the memo/tag (if required). Some exchanges and wallets need a memo or destination tag. If you omit it, funds can be lost.
- Use a secure device and connection. Avoid public Wi-Fi. Keep your device malware-free.
- Record the transaction ID. After sending, save the TXID so you can track the transfer on a block explorer.
These are practical safety measures. They may feel like extra work, but they protect your money.
Step: How to transfer crypto between wallets (clear, human steps)
Below is the Step-by-step crypto transfer process laid out plainly. Think of each step as a short, careful action. Go slowly. Breathe.
Step 1: Open the receiving wallet and get the correct address
- Open the wallet that will receive the funds.
- Select the token you expect to receive.
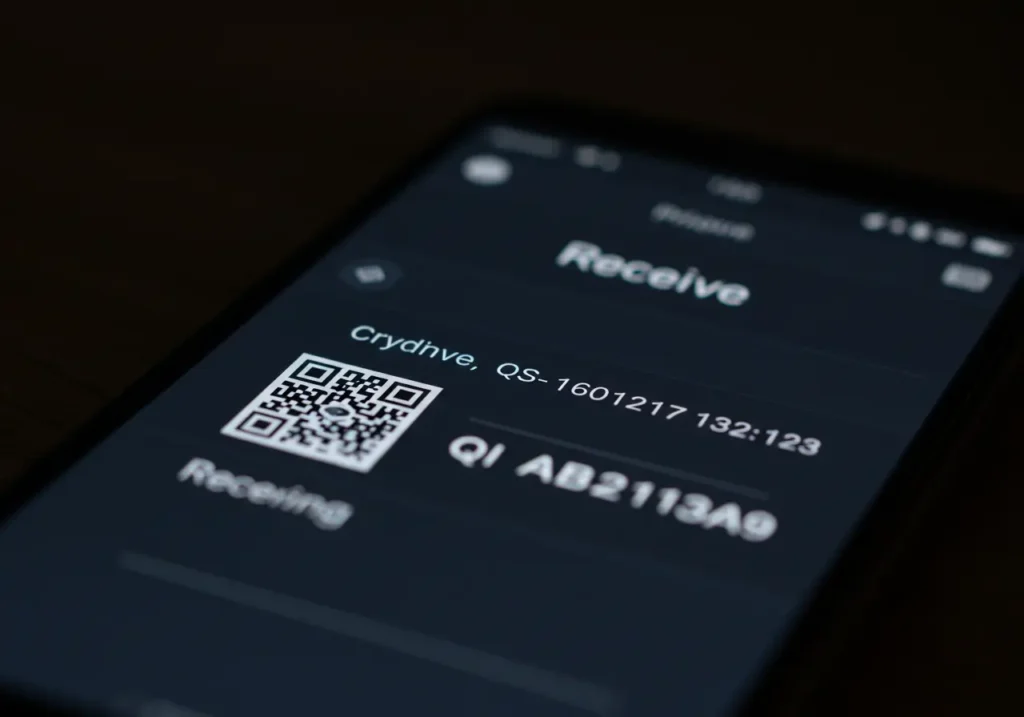
- Tap “Receive” (or similar). The wallet will show an address and sometimes a QR code.
- If a memo, destination tag, or payment ID is shown, copy that too.
Tip: Many wallets offer both copy/paste and QR codes. If you share the address, use the QR code in person or via a secure channel.
Step 2: Open the sending wallet and prepare the transaction
- In the sending wallet, choose the token and tap “Send.”
- Paste the receiving address exactly into the recipient field.
- If your token requires a memo/tag, paste it in the correct place.
- Enter a very small test amount — something you can afford to lose. For example, 0.0001 BTC or a few cents of an ERC-20 token.
Step 3: Confirm the network and fees
- Look closely at the network field (Ethereum, Bitcoin, BSC, etc.).
- Make sure the network matches the receiving wallet’s network.
- Check how much the fee will be. Some wallets let you choose “slow / normal / fast.” Faster equals higher fee.
Step 4: Double-check everything, then send the test amount
- Confirm the first 4 and last 4 characters of the address match in both wallets.
- Confirm memo/tag if needed.
- Press send. Wait for the transaction confirmation.
Step 5: Verify the test deposit arrived
- Open the receiving wallet. Wait for one or more confirmations.
- If the test amount arrives, you are clear to send the full amount.
- If it doesn’t arrive within a reasonable time, do not retry repeatedly. Pause and investigate.
Step 6: Send the full amount
- Repeat the sending process, now with the full amount.
- Make one last address and memo check.
- Send and save the transaction ID.
Step 7: Keep records and confirm final arrival
- Use a block explorer to track the transaction by TXID.
- Take a screenshot of the confirmation screen.
- Store the TXID and any receipts in a safe place.
This process is simple when you treat the test transfer as mandatory. It’s the best small habit you can form.
Common problems and how to fix them
I sent coins to the wrong address
If you control the wallet that received the funds, you can move them back. But if the receiving address belongs to someone else or an exchange you don’t control, recovery is difficult or impossible. Prevention is the best cure.
I sent the wrong network (e.g., ERC-20 to BSC)
Sometimes tokens sent to the wrong chain can be recovered if the receiving wallet supports the private keys and developers can help. For exchanges, contact support with proof (TXID, addresses, screenshots). Recovery is possible sometimes, but not guaranteed.
My transfer shows pending for a long time
Network congestion can slow things down. Check the network status and look at the fee you paid. If the fee was too low, the transaction may be stuck. In some blockchains there are ways to speed a transaction, but they can be technical. Patience helps.
I forgot the memo/destination tag
If you sent to an exchange and forgot the memo, contact the exchange support and provide transaction details. Exchanges often can credit missing memos manually, but expect a process and verification.
Extra safety tips — small actions that matter
- Use hardware wallets for large amounts. They keep your keys offline and are the safest option for long-term storage.
- Enable two-factor authentication (2FA) on exchange accounts and email accounts tied to crypto activity.
- Keep your seed phrase offline and private. Never photograph or upload it.
- Avoid public Wi-Fi when sending funds.
- Keep software updated. Wallet apps and device firmware should be current.
- Check phishing risks. Only download wallets from official sites. Bookmark your exchange and wallet login pages.
- Use a new receiving address for big transfers when possible. This reduces tracking risk and confusion.
- Be cautious with “helpful” third parties. If someone offers to help by asking for your private keys or seed phrase, politely refuse. No one should need that to assist.
Which wallet type is best for moving funds?
- Hot wallets (mobile or desktop): Easy and fast. Best for small amounts and daily use.
- Hardware wallets (cold wallets): Best for large amounts or long-term storage. They keep keys offline.
- Custodial wallets (exchanges): Easy but less control. If you move assets between your own wallets and an exchange, double-check memos and tags.
Match the wallet to the purpose. Use hardware wallets for savings. Use hot wallets for spending.
Practical examples (real but simple)
Example 1 — Sending ETH from Wallet A to Wallet B
- Wallet B is an Ethereum wallet that accepts ETH.
- From Wallet B, copy the ETH receive address.
- In Wallet A, choose ETH, paste address, and send 0.01 ETH as a test.
- Wait for confirmations. If it arrives, send the rest.
Example 2 — Sending a token (ERC-20) to an exchange
- Copy the exchange deposit address and the required memo.
- Confirm the token is supported by the exchange.
- Send a small test token amount first.
- If it clears, send the full amount with memo included.
These examples follow the same logic: small test, check network, double-check address.
How much should the test transfer be?
Make it small enough that a loss is inexpensive, but large enough to confirm the token appears. For most tokens, a few dollars worth or even cents is OK. For Bitcoin, a tiny fraction like 0.0001 BTC is common. The goal is confidence, not the amount.
Security habits you’ll keep for life
Treat addresses and private keys like cash in an envelope. If it’s a lot, treat it like a family heirloom. These habits will serve you well over time:
- Slow down. Rushing causes mistakes.
- Check and then check again.
- Keep your devices secure.
- Test before you trust.
- Save records for each move.
These small rituals save big headaches later. In my friend’s case, the calm, repeated checks turned a fearful moment into a learning one. You can build the same habits.
Final thoughts — you’re more capable than you think
Moving crypto between wallets is a practical skill. It’s not about luck. It’s about careful steps. If you follow the Step-by-step crypto transfer process laid out here — test a tiny amount, confirm addresses and networks, and use safe devices — you’ll get it right most of the time. Think of it like learning to ride a bike: at first it’s awkward, then it becomes natural. Soon you’ll do it without thinking.
If you feel unsure, pause. Ask for help from someone you trust who has experience. But never share your private key or seed phrase with anyone. That’s the golden rule.
Summary — Main points at a glance
- Always confirm the receiving address and network.
- Send a small test amount first.
- Use secure devices and private networks.
- Keep seed phrases and private keys offline and secret.
- Check memos/destination tags for exchange deposits.
- Use hardware wallets for larger holdings.
- Record the transaction ID and save screenshots.
- If something goes wrong, gather TXID and contact support — but recovery is not guaranteed.
Closing note — a friendly nudge
You don’t need to be an expert to move crypto safely. A calm approach, simple checks, and the habit of testing tiny amounts will keep your assets secure. Take your time. Be a little cautious. And celebrate the small wins — like the first successful transfer you make with confidence. You got this.
Table of Contents

Hello, I’m Edmilson Dias, founder of CoinBringer. I created this platform to guide people through the fast-moving world of cryptocurrency with clarity and safety. With years of research in blockchain and digital security, my goal is to translate complex topics into practical knowledge, offering reliable tutorials, safety insights, and guidance for both newcomers and experienced users.
Discover more from CoinBringer
Subscribe to get the latest posts sent to your email.