Ledger or Trezor? Here’s How to Set Up Your Hardware Wallet Without Risk
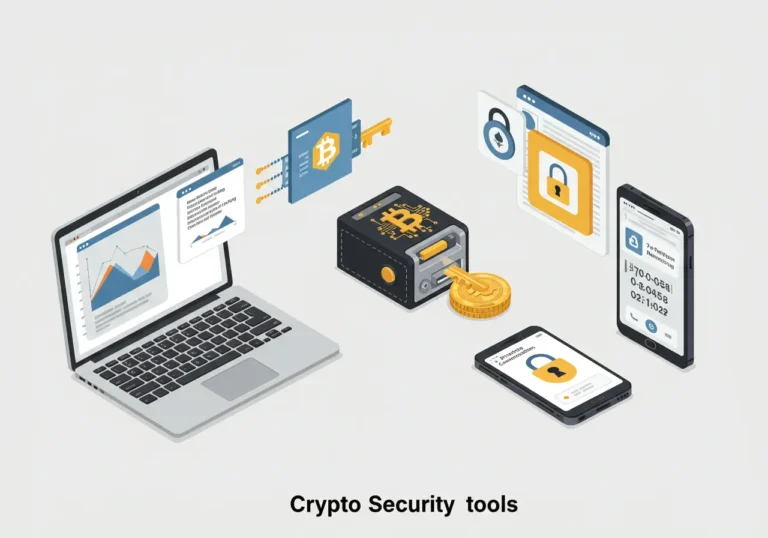
Why Use a Hardware Wallet?
You might be thinking, “Isn’t it fine to just keep my crypto on an app or exchange?” Technically, yes—you can. But that’s kind of like leaving your house unlocked and hoping no one notices. Online wallets are always connected, which means hackers always have a way in. A hardware wallet? That’s a whole different level of security. It’s a physical device that keeps your crypto’s secret codes—those private keys—offline. If your computer gets messed up, your crypto’s still safe.
Think of it this way: your private keys are like the PIN to your bank card. You wouldn’t scribble that on a napkin and leave it lying around, right? This little gadget hides those keys away. It’s small too—fits right in your pocket. A portable device that’s your best shot at keeping things secure. And don’t worry, you don’t need to be a tech genius. If you can unlock your phone, you’ve got this.
Picking the Right One
There are a couple of big names out there—Ledger and Trezor. Both are solid choices, and setting them up is pretty similar. I’ll walk you through it with a Ledger in mind, but if you’ve got a Trezor, you’ll be just fine following along.
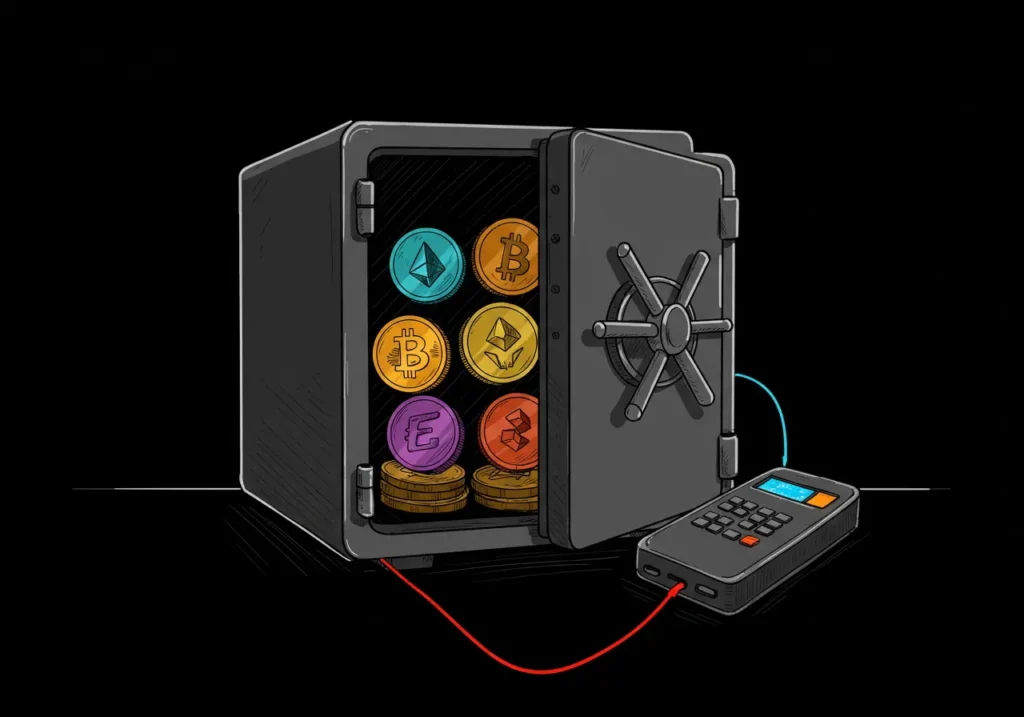
Here’s a big tip: buy it straight from the source, like Ledger.com or Trezor.io. Don’t mess with random online stores or used ones. You want it fresh out of the box, no funny business. This is your physical wallet for protecting digital assets, after all—you’ve got to trust it. Oh, and make sure it works with the crypto you’ve got. Most cover Bitcoin, Ethereum, and tons more, but a quick check never hurts.
Got it in your hands? Alright, let’s do this!
Setting It Up—Step by Step
Time to get your hardware wallet ready. Find a quiet spot where no one’s going to bug you. We’re dealing with some private stuff here, so let’s keep it between you and me.
Step 1: Open the Box
Crack open that package. You’ll see your hardware wallet, a cable, and some blank sheets called recovery sheets. Those sheets are gold—don’t lose them. They’re for a special code we’ll talk about soon.
Step 2: Hook It Up
Plug the cable into your wallet and your computer. It should wake up on its own. If it’s being stubborn, there might be a button to press—peek at the manual if you need to.
Step 3: Pick a PIN
It’ll ask you for a PIN. Think of it like your phone’s passcode—something you’ll remember but isn’t obvious. Skip 1234 or your birthday. Maybe the year you got your favorite pet? Jot it down somewhere safe, but not on your laptop or anything hackable.
Step 4: Save Those Secret Words
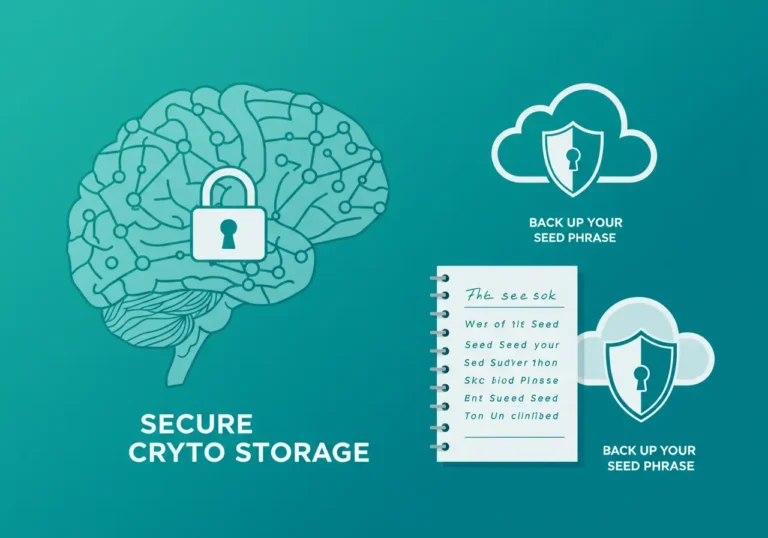
Now, your wallet’s going to flash a bunch of words at you—usually 24. This is your seed phrase, the master key to your crypto. If your wallet ever bites the dust, these words get you back in.
Write them down on that recovery sheet, exactly as you see them. No photos, no typing—just good old pen and paper. Then stash it somewhere smart, like a locked box. It’s like hiding the spare key to your car.
Step 5: Double-Check
The wallet might quiz you—“What’s word 5?”—to make sure you got it right. Take your time here. Messing this up could lock you out for good.
Step 6: Get the Software
You’ll need a program to talk to your wallet. Ledger uses Ledger Live; Trezor has Trezor Suite. Download it from their official site—nowhere else. Open it up, and it’ll guide you to link your wallet.
Step 7: Add Your Crypto
In the software, you can set up spots for your crypto—like little piggy banks for Bitcoin or Ethereum. Just click what you need. Easy peasy.
Step 8: Move Your Money
Ready to lock your crypto away? If it’s on an exchange or another wallet, find the “receive” button in your software. It’ll give you an address—think of it as a mailbox for your crypto.
Head to where your crypto’s at, hit “send,” and paste that address. Check it twice—seriously, one typo and it’s gone. Send it off, wait a bit, and boom—your crypto’s now in secure offline cryptocurrency storage.
How’s that feel? Pretty cool, right?
Keeping It Safe—Some Friendly Advice
You’ve got your crypto tucked away now, but let’s keep it that way. Here’s what I’ve learned from doing this myself.
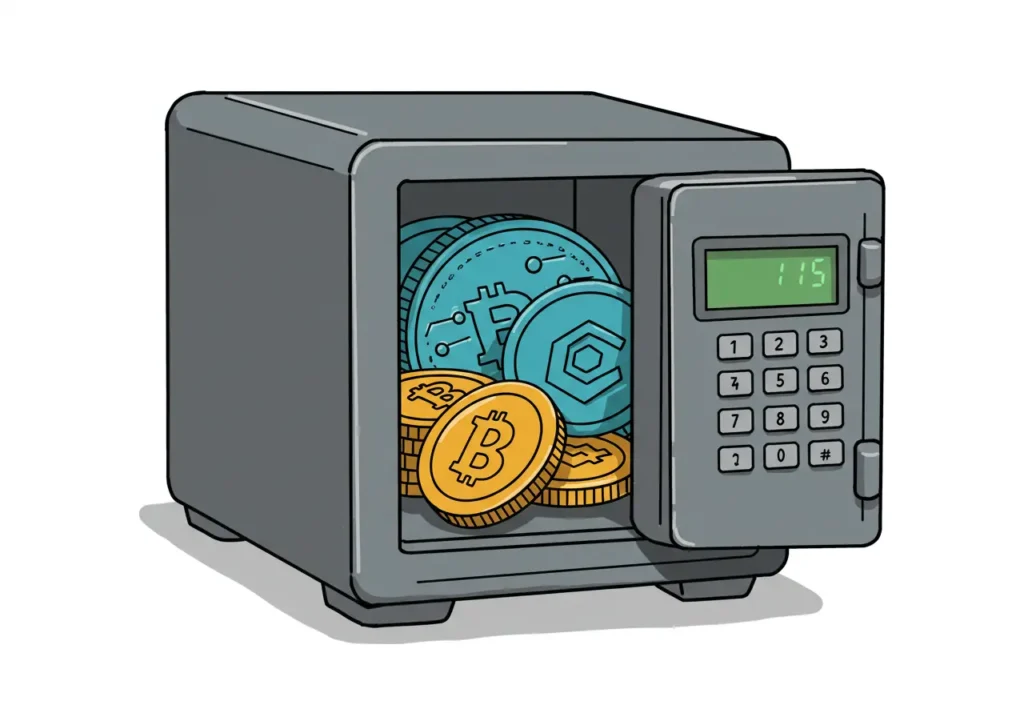
- Unplug It: When you’re done, pull it out of your computer and stash it somewhere safe. It’s made to be secure offline cryptocurrency storage, so it doesn’t need to hang out online.
- Watch for Tricks: Scammers might try to sweet-talk you into sharing your seed phrase or PIN. Never type those words into a website or tell anyone. They’re just for emergencies.
- Stay Updated: Every so often, check for updates to the software. It’s like changing the oil in your car—keeps things running smooth.
- Back It Up: Make a second copy of your seed phrase and hide it somewhere else, like a bank box. If your house floods or something, you’re still covered.
I had a close call once—almost fell for a fake email asking for my seed phrase. Y’all know how it is, those sneaky folks are everywhere. Caught it just in time, thank goodness.
You Did It!
See? Setting up a hardware wallet wasn’t so bad. You’ve built a little fortress for your crypto now. No more stressing about hackers or losing it all. It’s your physical wallet for protecting digital assets, and you’ve nailed it.
I’m proud of you for doing this—it’s a big step. Back in my day, I wish I’d started this sooner. Now you can kick back, knowing your crypto’s safe and sound. What’s next? Maybe a little reward for yourself? You deserve it.
Quick Reminders
- It’s a physical device that keeps your crypto offline and out of reach.
- Buy from the maker, not some sketchy site.
- Pick a solid PIN and keep your seed phrase on paper.
- Unplug it when you’re done, and don’t share those words with anyone.
- Keep the software fresh with updates.
Got questions? I’m here. You’ve got this!
Table of Contents

Hello, I’m Edmilson Dias, founder of CoinBringer. I created this platform to guide people through the fast-moving world of cryptocurrency with clarity and safety. With years of research in blockchain and digital security, my goal is to translate complex topics into practical knowledge, offering reliable tutorials, safety insights, and guidance for both newcomers and experienced users.
Discover more from CoinBringer
Subscribe to get the latest posts sent to your email.